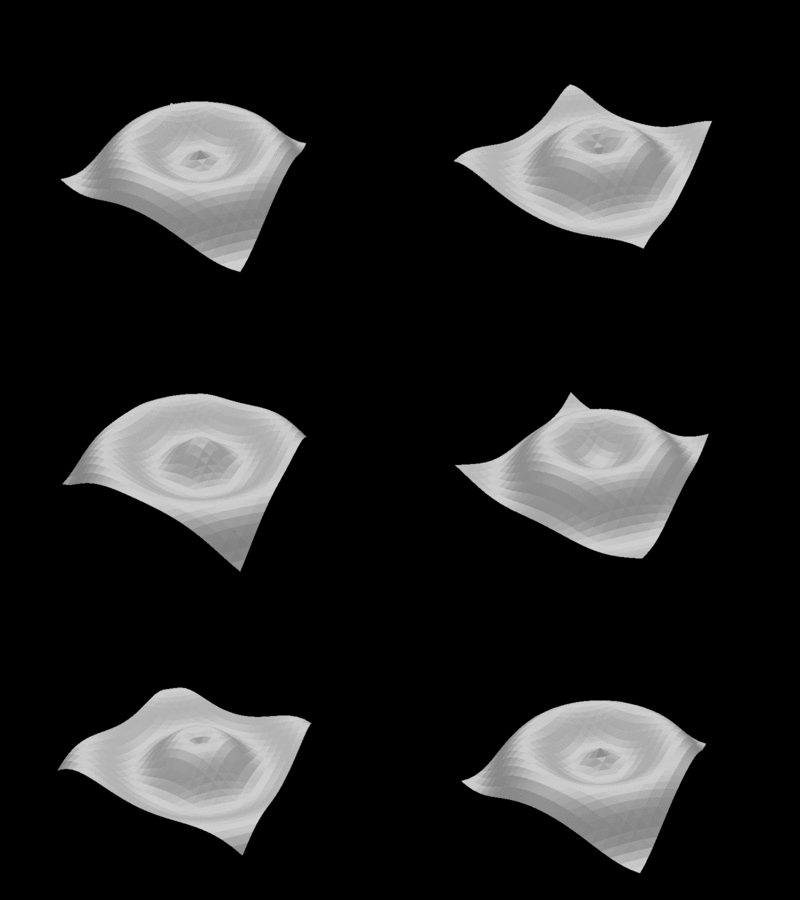
One of the concepts behind Linux (or Unix) design is to execute small programs which process each others outputs to deliver final result. In this article I will present how to create a small animation which uses several Linux utilities.

Wave
Animation uses well know POV-Ray raytracing tool to generate 3D z = sin(x, y)
function. First we need to generate a frame of the animation sequence.
record Point
{
    x : float;
    y : float;
    z : float;
}

func print_point(p : Point) -> int
{
    prints("<" + p.x + ", " + p.y + ", " + p.z + ">");
    0
}

func print_rect(data[D1, D2] : Point, x : int, y : int) -> int
{
    prints("triangle { ");
      print_point(data[x, y]);
      prints(", ");
      print_point(data[x + 1, y]);
      prints(", ");
      print_point(data[x + 1, y + 1]);
    prints(" }\n");

    prints("triangle { ");
      print_point(data[x, y]);
      prints(", ");
      print_point(data[x + 1, y + 1]);
      prints(", ");
      print_point(data[x, y + 1]);
    prints(" }\n");

    0
}

func print_wave(data[D1, D2] : Point) -> int
{
    var x = 0;
    var y = 0;

    for (x = 0; x < D1 - 1; x = x + 1)
    {
        for (y = 0; y < D2 - 1; y = y + 1)
        {
            print_rect(data, x, y)
        }
    };

    0
}

func head() -> int
{
  prints("\
  camera { \
    location <0, -16, -12> \
    look_at <0, 0, 0> \
    rotate <0, 0, 30> \
  } \
  light_source { <0, 0, -32> color rgb<1, 1, 1> } \
  mesh { \n");

  0
}

func tail() -> int
{
  prints("\
  texture { \
      pigment { color rgb<0.9, 0.9, 0.9> } \
      finish { ambient 0.2 diffuse 0.7 } \
    } \
  }\n");

  0
}

func get_wave(phi : float, size : int) -> [_, _] : Point
{
    var x = 0;
    var y = 0;
    var x_v = 0.0;
    var y_v = 0.0;
    var z_v = 0.0;
    var tab = {[ size, size ]} : Point;

    for (x = 0; x < size; x = x + 1)
    {
        for (y = 0; y < size; y = y + 1)
        {
            tab[x, y] = Point(0.0, 0.0, 0.0);

            x_v = -2.0 * 3.141 + 4.0 * 3.141 / size * x;
            y_v = -2.0 * 3.141 + 4.0 * 3.141 / size * y;
            z_v = sin(phi + sqrt(x_v * x_v + y_v * y_v));

            tab[x, y].x = x_v;
            tab[x, y].y = y_v;
            tab[x, y].z = z_v
        }
    };

    tab
}

func generate(phi : float) -> int
{
    var data = get_wave(phi, 24);

    head();
    print_wave(data);
    tail();

    10
}


func main(phi : int) -> int
{
    generate(2.0 * 3.141 / 32.0 * phi);
    0
}
The above listsing uses Never programming language to generate Povray scene
description. 3D data is calculated in function get_wave. Sin function
values range from -2pi to 2pi both for x and y arguments. Next the data
is output as Povray mesh by functions head, print_wave and tail.
Function main takes an argument which specifies frame number. Frame number
is an animation offset used in sin function.
Povray, bash and convert
To generate animation several frames need to be combined together.
for f in {0..63}
do
never -m 50000 -f wave.nev $f > wave_$f.pov
done
First 64 frames are generated which pass offset from 0 to 4*pi which gives full animation cycle.
Next frames are processed with Povray to generate graphics.
for f in wave*.pov
do
povray $f
done
And last they are combined together with convert tool.
convert -delay 10 -loop 0 wave_{0..63}.png wave.gif
I hope you liked this tutorial!